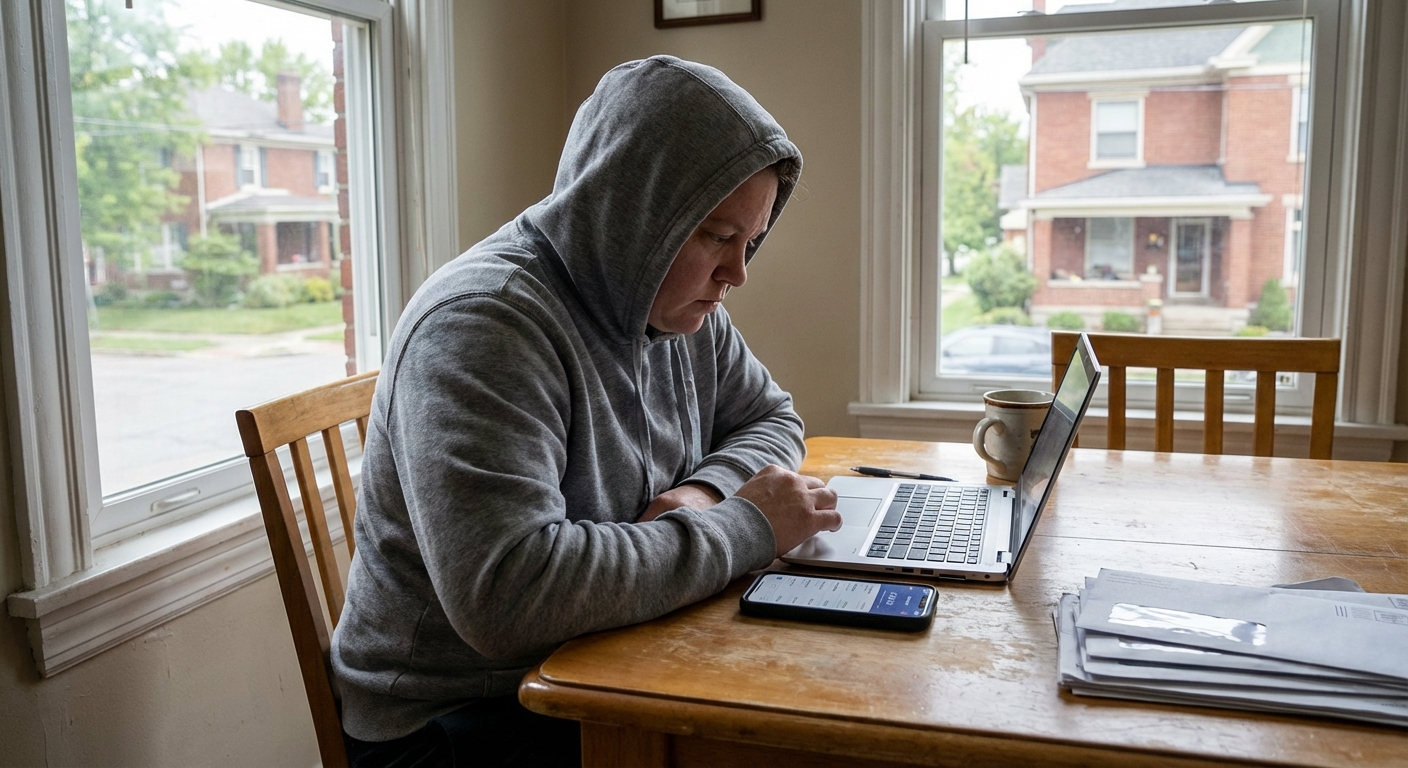
If you have ever tried the cash envelope system, you already know why it works. When the “groceries” envelope is empty, you stop spending. The problem is that life is not cash anymore. Subscriptions, online orders, and tap-to-pay make it painfully easy to blow past your limits without feeling it.
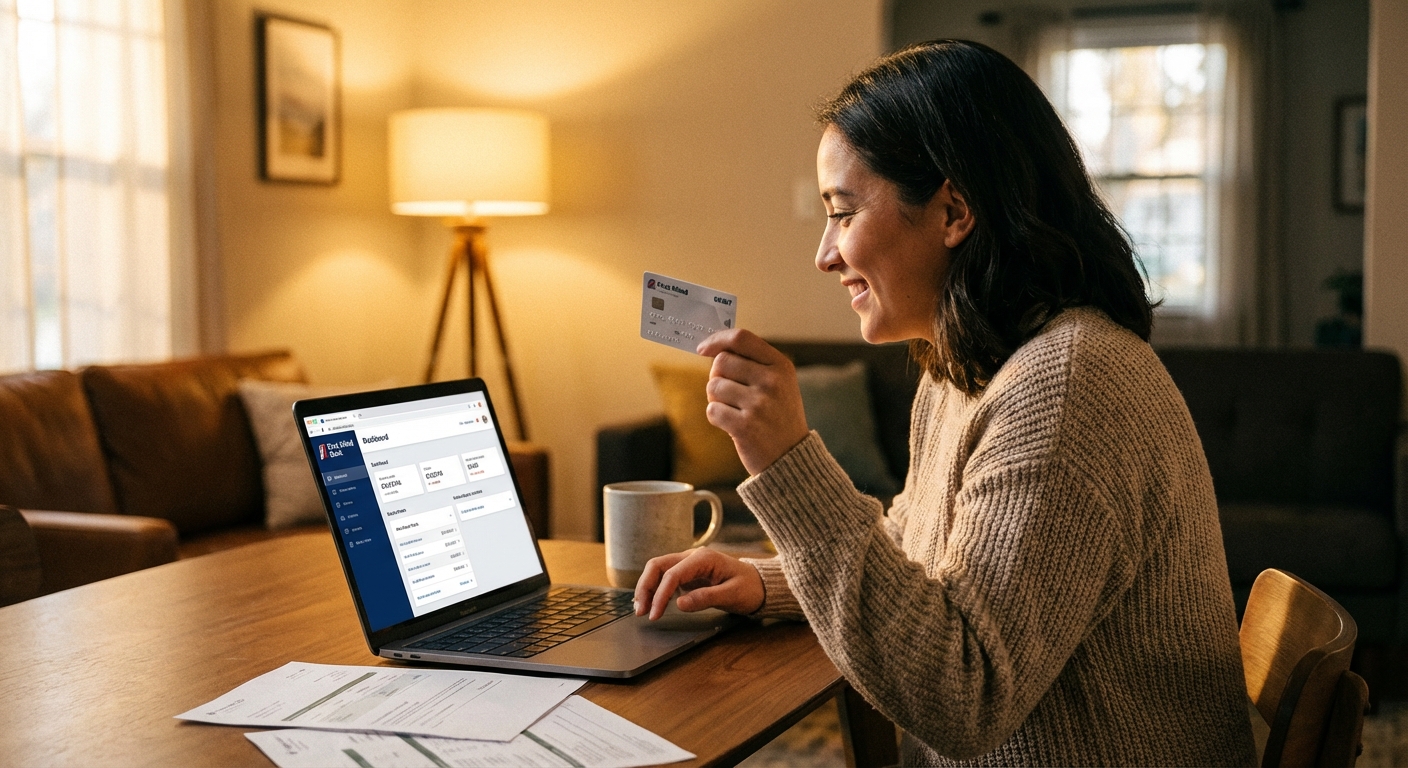
The good news is you can recreate the same guardrails digitally by using multiple no-monthly-fee checking and savings accounts as your envelopes. I used a version of this while digging out of $60,000 of consumer debt, and it is still one of my favorite ways to budget because it is simple, visual, and hard to accidentally mess up.
What digital cash envelopes are
The digital cash envelope system is the same idea as physical envelopes, but instead of separating cash, you separate money into separate bank accounts. Each account has a job. When the account hits zero, that category is done until the next payday.
One important tweak: if a category is variable (like utilities or gas), keep a small cushion so one unusually high bill does not force last-minute transfers.
This method works best for people who:
- Overspend with cards because spending feels “invisible”
- Want clear boundaries without tracking every single transaction
- Prefer automation over daily budgeting apps
- Need to protect bill money from impulse spending
Why multiple accounts work
With one checking account, every purchase competes with your rent, your groceries, and your future goals. Even if you track perfectly, you still have to do mental math constantly.
Multiple accounts fix that by:
- Reducing decision fatigue: you check one category balance, not your entire financial life.
- Creating friction: moving money between accounts takes a step, which is often enough to stop a “why not” purchase.
- Preventing bill overdrafts: bill money sits in its own account and does not get spent accidentally.
- Making progress visible: sinking funds and savings grow in their own lanes.
Think of it as budgeting with bumpers, not willpower.
Simple setup (start here)
You do not need ten accounts to make this work. Start with 3 to 5 and expand only if it helps.
Core accounts
- Income Hub Checking: paychecks land here. This is not your spending account.
- Bills Checking: rent or mortgage, utilities, insurance, debt payments, subscriptions.
- Spending Checking: day-to-day spending.
- Emergency Fund Savings: true emergencies only.
An optional upgrade most people love
- Essentials Checking: groceries, gas, household basics.
- Fun Money Checking: eating out, hobbies, “treat yourself” spending.
If you have ever watched groceries disappear because of random Amazon purchases, splitting Essentials and Fun Money is the cleanest fix.
Optional but powerful add-ons
- Sinking Funds Savings: car repairs, gifts, travel, vet, annual fees.
- Taxes Savings: especially for freelancers and side hustles.
- Debt Snowball Checking: if you like separating extra payoff money from regular bills.
Choosing accounts
Your success here depends on using accounts that do not punish you with fees or friction. Policies vary a lot by bank, so confirm the details before you commit.
- No monthly fees: if an account charges $10 a month, it is not an envelope, it is a leak.
- No minimum balance requirements: some envelopes will intentionally run low.
- Multiple accounts allowed: confirm you can open multiple checking accounts (not just savings) and nickname them.
- Transfer speed that matches your life: transfers inside the same bank are often instant or same-day. Transfers between different banks are often 1 to 3 business days via ACH, so plan accordingly.
- Easy nicknames: “BILLS” and “GROCERIES” should be obvious at a glance.
- Strong mobile app: you will be checking balances often at first.
- Overdraft controls: the ability to decline transactions or set low-balance alerts.
If your current bank makes multiple accounts difficult, consider using one bank for the envelope checking accounts and a separate bank for savings. Separating savings on purpose can add a healthy layer of “do I really want to pull from that?” friction.
Set it up in an afternoon
Step 1: List categories
Start with categories where overspending causes the most pain: bills, groceries, and fun money. If you are unsure, look at the last two months of statements and circle the areas where you routinely go over.
Step 2: Pick a funding rhythm
Pick one of these approaches:
- Per paycheck funding: best if you are paid weekly or biweekly and want smaller transfers more often.
- Monthly funding: best if you are paid monthly or have a solid buffer already.
Step 3: Open and rename accounts
Rename accounts inside the app so you do not have to remember what “Checking 2” is.
Step 4: Move bills to Bills Checking
Update autopay for fixed bills so they pull only from Bills Checking. This is the whole point: bill money should be protected from random Target runs.
Step 5: Automate transfers from the Income Hub
On payday (or the next morning), schedule automatic transfers to Bills, Spending (or Essentials and Fun Money), and any sinking funds.
Step 6: Add alerts and a cushion
- Low balance alert on Spending Checking
- Low balance alert on Bills Checking (set this higher than you think)
- Transfer confirmation notifications
One tiny operational tip: some banks automatically close accounts that sit at $0 for a while. If you have an envelope you only use occasionally, leaving a small buffer (even $5) can prevent an annoying account-closure headache.
Example budget
Here is a simple example for someone who brings home $4,000 per month, paid biweekly. Adjust the categories to fit your life.
Accounts
- Income Hub Checking: paychecks land here
- Bills Checking: $2,300 per month
- Spending Checking: $1,200 per month
- Emergency Fund Savings: $200 per month
- Sinking Funds Savings: $300 per month
Funding schedule (biweekly)
- Transfer $1,150 to Bills Checking
- Transfer $600 to Spending Checking
- Transfer $100 to Emergency Fund
- Transfer $150 to Sinking Funds
Now your Spending Checking is your “wallet.” If it is getting tight, you do not wonder whether you can afford it. You just check that one balance.
What to do with the “extra” paycheck months
If you are paid biweekly, two months each year you will get a third paycheck. Decide ahead of time where it goes so it feels like a win, not mystery money. A simple order:
- Catch up sinking funds
- Build a buffer (one month ahead)
- Extra debt payoff
- Boost emergency fund
Sinking funds without chaos
Sinking funds are for predictable, non-monthly expenses. They are the reason budgets stop exploding when life happens.
You have two clean options:
Option A: One sinking fund savings account + a simple note
- Keep one savings account called “Sinking Funds.”
- Maintain a short list in your notes app or spreadsheet: Car $400, Gifts $250, Vet $150, Travel $600.
- When you spend, subtract from the note and transfer money to Spending or Bills as needed.
Option B: Multiple sinking fund savings accounts
If your bank lets you open multiple savings accounts with no fees, you can create separate ones for “Car Repair,” “Gifts,” and “Travel.” This is the closest digital version of physical envelopes, and it can be incredibly calming.
Quick warning: even though the Federal Reserve paused Regulation D, many banks still limit savings withdrawals and transfers (often 6 per month). If you use savings accounts as envelopes and move money around frequently, you could trigger fees or an account conversion. If that is your bank’s policy, keep sinking funds in one savings account (Option A), use a checking account for more frequent transfers, or batch transfers once a week.

Guardrails that stop overspending
Multiple accounts do most of the work, but these extra guardrails make the system stick.
- Use one debit card for Spending only: keep your Bills account card locked, hidden, or not issued if possible.
- Disable overdraft coverage for debit and ATM: declining a purchase is embarrassing once. Overdraft fees are expensive repeatedly. Also note: ACH and autopay transactions can still overdraw in some cases, so keep a small cushion and set alerts.
- Separate online shopping from saved cards: remove your card from saved wallets so you have to re-enter it.
- 24-hour rule for transfers: if you want to move money out of sinking funds for a “want,” wait a day.
- Weekly money check-in: 10 minutes, same day each week, to glance at balances and upcoming bills.
Using credit cards (without breaking the system)
You can absolutely use credit cards for rewards, but you need a simple rule so your envelopes stay honest.
Option A: Move money immediately
- Use your credit card for the purchase.
- Right then (or once a day), transfer the same amount from the correct envelope (Spending or Essentials) into a “Card Payments” checking account.
- Pay the card from Card Payments weekly or when the statement hits.
Option B: Pay weekly from each envelope
- Once a week, total your card charges for groceries, gas, and fun.
- Pay the card from the matching envelope account(s).
Either way, the key is this: if the purchase happened, the cash has to leave the envelope now, not later. That is how you avoid the “I have money in checking, but my card bill is huge” trap.
Shared finances
If you share bills with a partner or roommate, you can still use digital envelopes without turning it into a spreadsheet war.
- Joint Bills Checking: both people contribute a set amount per paycheck, and all shared bills are paid from here.
- Individual Spending: each person keeps their own Spending (or Essentials and Fun Money) account for personal choices.
- One money meeting: 10 minutes weekly or biweekly to confirm bills are funded and upcoming irregular expenses are covered.
Refunds, reimbursements, and cash
These little edge cases are where envelope systems can get messy. A few simple rules keep it clean.
- Refunds: send the money back to the envelope it came from. If you returned clothes you bought with Fun Money, that refund goes back to Fun Money.
- Work reimbursements: if you can, float it from a separate “Reimbursable” envelope so it does not distort your spending categories. When the reimbursement lands, it goes back to that same envelope.
- Cash withdrawals: treat cash like a mini-envelope. Withdraw from Spending, and then that cash is your fun or grocery money until it is gone.
Irregular income
If your paychecks vary, the envelope approach still works, but you need a slightly different rhythm.
- Base bills on your lowest month: fund Bills first every time money comes in.
- Use percentages for variable categories: for example, 60% Bills, 25% Spending, 10% Savings, 5% Sinking Funds until you build a buffer.
- Build a one-month buffer: the goal is to pay next month’s bills with this month’s income. That removes a ton of stress.
When you are variable-income, the Income Hub account becomes your “shock absorber.” It holds money until you deliberately assign it.
Common mistakes
Opening too many accounts
If you feel overwhelmed, you will quit. Start with Bills, Spending, and one Savings. Add sinking funds once you are steady.
Also, opening a lot of deposit accounts quickly can trigger fraud flags or extra identity checks at some banks. Slow and steady is fine.
Not funding on a schedule
This system works because it is consistent. Automate transfers right after payday so you are not relying on memory.
Letting Spending become a catch-all
If groceries keep getting eaten up by random Amazon purchases, split Spending into two accounts: Essentials and Fun Money.
Using credit cards without a plan
Rewards are great. Surprise credit card balances are not. Pick one of the workflows above and stick to it.
FAQ
Is this better than a budgeting app?
It depends. Apps are great for detailed tracking. Digital envelopes are great for behavior change. If overspending is the issue, separating money into accounts often creates faster results because the boundary is built in.
Will multiple accounts hurt my credit?
Usually no, because checking and savings accounts do not impact your credit score the way credit cards and loans do. That said, banks may run a ChexSystems (or similar) inquiry when you open deposit accounts, and some banks do a hard credit inquiry (rare, but it happens). It typically will not change your FICO score, but it can affect your ability to open other deposit accounts if you open too many too fast.
What if a bill is higher than expected?
For bills that vary, set your Bills transfer using your high month, then keep a small cushion in Bills Checking. If you are consistently short, that is a signal to adjust the envelope amount.
How often should I check balances?
At the beginning, daily is fine. It builds awareness. After a month or two, most people naturally shift to checking a few times per week plus a weekly money check-in.
Quick-start checklist
- Open 3 to 5 no-monthly-fee accounts
- Name them clearly: Income Hub, Bills, Spending (or Essentials and Fun Money), Savings
- Move all autopay bills to the Bills account
- Automate transfers on payday (and account for transfer timing if using multiple banks)
- Use Spending as your “wallet” account
- Add low-balance alerts, keep a small cushion, and disable debit and ATM overdraft coverage
- Watch for savings withdrawal limits and bank-specific policies
- Do a 10-minute weekly check-in
If you want the biggest win with the least effort, start by protecting your Bills money first. Once your bills stop competing with daily spending, everything else gets easier.